
What do spider mites look like?
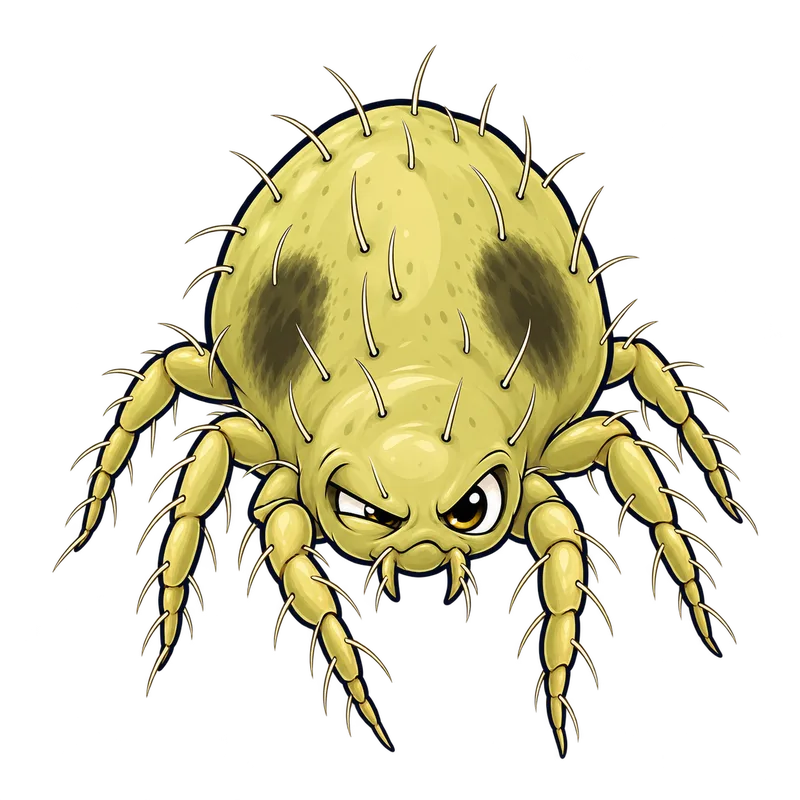
Spider mites are absurdly small arachnids roughly 1 mm long that read to the naked eye as moving dust. Under a hand lens, they resolve into soft, oval bodies with eight legs and a pale greenish yellow color, with the twospotted spider mite showing two dark blotches on its back.
What is actually going on
Picture this: you water your tomato plants on a July evening and notice the lower leaves look off. Not chewed, not spotted with anything obvious, just tired. A faint yellow dustiness, like someone dragged the plant through a sandbox. You flip a leaf over and there it is, a fine, almost invisible webbing stretched between the leaf and the stem, and if you stare long enough, tiny specks that seem to drift. Congratulations, you are probably looking at spider mites.
So what do they actually look like? Spider mites are arachnids, not insects, and they are absurdly small, roughly 1 mm long, about 1/50 of an inch. To the naked eye they read as moving dust. Under a cheap 10x hand lens, though, they resolve into something recognizable: soft, oval bodies, eight legs, and a pale greenish-yellow color. The most common one in American gardens and houseplants, the twospotted spider mite, usually shows two dark blotches on its back, which are just digested food showing through the body wall. Charming, I know.
Here is the part that trips people up. Most gardeners never really "see" the mites first. They see the damage. Spider mites feed by piercing individual plant cells and sucking out the contents, one cell at a time. The result on the top of the leaf is a pattern of tiny pale dots called stippling, like the leaf was lightly sandblasted or pricked with a needle thousands of times. As the population grows, whole leaves go yellow, then bronze, then brown and crispy. Meanwhile, underneath, the colonies spin delicate silk webbing that collects shed skins and debris. That combination, stippled tops plus dirty webbing underneath, is the real calling card.
One thing worth questioning: a lot of people assume any yellowing leaf means bugs, and any bug means "grab the spray." Both leaps are wrong here. Yellowing can be drought, overwatering, or nutrient trouble, and spraying the wrong product at mites can genuinely make the problem worse, which we will get to.
How to tell for sure
The classic field test takes ten seconds and costs nothing. Hold a sheet of white paper under a suspect leaf or branch and give it a firm tap. Then watch the paper. If tiny specks start wandering around, like slow-moving grains of ground pepper or paprika, you have mites. Smear one with your finger and it leaves a faint streak. Healthy dust just sits there, which is the whole point of the test.
If you want to actually see what you are dealing with, pick up a 10x to 20x hand lens or a jeweler's loupe. Focus on the undersides of older leaves, the inner canopy, and the spots where leaves meet stems, because that is where colonies usually start. Under magnification you will see the oval bodies, maybe the two dark spots, clusters of round translucent eggs, and the fine silk threads. It is a genuinely odd moment, going from "my plant looks sad" to watching an entire tiny civilization commute across a leaf.
A few lookalikes deserve a mention, because not every mite is a spider mite and the difference matters. Tomato russet mites bronze tomato foliage too, but they are slender, nearly invisible, and produce no webbing at all. Cyclamen mites on strawberries and ornamentals hide down in the crowns and cause crinkled, stunted new growth rather than open-leaf stippling. Clover mites wander onto windowsills and foundations in cool spring weather and leave a red smear when crushed, but they are a nuisance, not a plant killer. The rule of thumb: silk webbing plus stippled leaves usually means spider mites. No webbing means keep looking before you treat.
Also, timing tells you a lot. Spider mites love hot, dry conditions. In weather around 75 degrees Fahrenheit they can go from egg to adult in as little as five days, and warm regions can see ten or more generations in a season. That is why a plant that looked fine in June can look torched by late July, and why the problem usually explodes during a dry spell, not during a cool wet spring.
What usually comes next
So you tapped the leaf, watched the specks wander, and now you know what you are dealing with. The first decision is an easy one: start with the gentlest thing that actually works, and leave the hardware-store nuclear option on the shelf. This is where I will argue with your instincts a little. The obvious move, reaching for a broad-spectrum spray like a pyrethroid or carbaryl, is usually the worst move on the table. Those products wipe out the predatory mites, lady beetles, and lacewings that have been quietly eating your spider mites for free, while the mite eggs sit there untouched. Gardeners regularly watch a mite problem explode a week or two after spraying, and this is exactly why. You fired the security staff and left the door wide open.
Instead, work through a short sequence. Start physical: hit the foliage with a firm stream of water, especially the undersides, to knock mites off and shred the webbing. Keep the plant well watered too, because drought-stressed plants are mite magnets. If that is not enough, step up to contact products like insecticidal soap, neem oil, or horticultural oil. These work by coating and smothering soft-bodied mites, and that tells you two things. Coverage has to be thorough, especially under the leaves where the colony actually lives, and they do nothing to eggs, so plan on repeating the treatment every 7 to 10 days, two or three times, to catch the newly hatched crowd. Read the label and follow it. The label is the law, and it also tells you practical things like harvest intervals on edibles, which for soap and neem are often short enough that you can treat right up to picking.
Two cautions before you spray anything oily or soapy. Do not apply oils, soaps, or sulfur in high heat or blazing sun, roughly above 85 to 90 degrees Fahrenheit, or you can scorch the very leaves you are trying to save. And never combine sulfur and oil, or use them within about two weeks of each other. If you are running a greenhouse or a serious indoor collection, releasing predatory mites is a legitimate option, though they generally need decent humidity to get established.
When to get help
Most spider mite problems on houseplants and garden vegetables are manageable with patience and a spray bottle. Some situations, though, call for backup. If webbing has completely wrapped the growing tips or swallowed an entire plant, washing rarely saves it; heavily infested plants are often better pruned hard or pulled out so they do not seed the rest of the garden. If you grow fruit trees, a greenhouse crop, or anything commercially, and mites keep bouncing back despite reasonable treatment, send a sample to your local extension service or diagnostic lab. Sorting mites down to species takes a microscope and real expertise, and the right treatment depends on it.
One more honest note before you go. If you have treated repeatedly with the same product and the mites shrug it off, you may be looking at resistance, which is a genuine problem with these creatures. Rotating between different modes of action, or handing the job to a licensed applicator, beats spraying the same thing harder and hoping. And if a plant arrived from a nursery or shipment carrying an infestation you cannot identify, your state department of agriculture is the right call, since some exotic mites are regulated pests. For everything else, it is you, a white sheet of paper, and a magnifying glass. That is genuinely enough to start.