
What are root mealybugs?
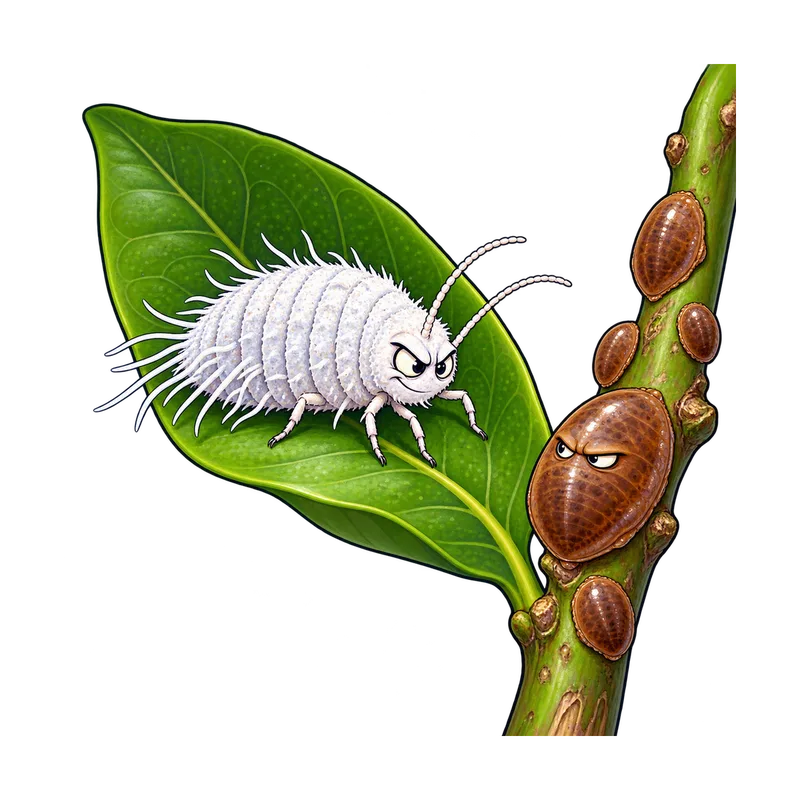
Root mealybugs are small, soft-bodied insects that hide at the soil line, around plant crowns, and among upper roots. These pests use needle-like mouthparts to draw out sap, draining houseplants of moisture and nutrients while leaving behind waxy white deposits and sticky honeydew.
What is actually going on
You lift the nursery pot of your favorite trailing pothos to check the saucer, and something looks strange near the rim where the stem meets the potting mix. There is a tiny smudge of white fluff that resembles a speck of stray cotton yarn. When you touch it with a fingernail, it is soft and slightly greasy. You might think it is a bit of harmless mold or an old piece of label adhesive, but a few days later, the plant starts looking sluggish and drops a leaf for no obvious reason. You have likely encountered mealybugs, and if they are hiding out of sight around the lower stem or upper roots, you are dealing with a root-zone infestation.
Root mealybugs are small, soft-bodied insects that belong to the same family as the fuzzy white pests you sometimes spot lounging on the upper leaves and stem joints of houseplants. While many species prefer to stay above ground, certain types adapt specifically to dark, protected microhabitats right at the soil line, around plant crowns, and down among the upper roots. They do not chew through plant tissue like caterpillars or beetles. Instead, they possess slender, needle-like mouthparts that they sink directly into the plant to draw out sap, steadily draining the host of moisture and nutrients.
The main reason these underground pests catch indoor gardeners off guard is that their damage looks entirely like a watering problem. A plant dealing with a heavy population at its base will often display yellowing leaves, slowed growth, and a general lack of vigor that mimics drought stress or nutrient deficiency. Because the leaves themselves might not show the classic fluffy white clusters at first glance, you keep watering the pot, wondering why the plant refuses to perk up. Meanwhile, a thriving colony is quietly operating out of sight in the root zone.
Spotting these pests before they take over usually requires getting your hands dirty and looking closer than a casual glance allows. Mature females are oval, pale, and covered in a powdery, hydrophobic waxy coating that acts almost like a tiny raincoat, causing plain water sprays to bead up and roll right off their backs. Some species even sport short waxy tail filaments that trail behind them. If you are looking at the soil line in a potted plant, these waxy secretions often bind bits of potting medium and debris together into small, crusty white deposits right where the stem enters the soil.
You usually need some form of magnification to be certain of what you are looking at, especially with young nymphs, which are tiny and pale yellow or pink. A standard 10x jeweler's loupe or a magnifying glass will reveal that those suspicious white specks on the roots actually have legs and are moving around. In turfgrass or heavy container setups, people often mistake these waxy clusters for small, slow-release fertilizer prills scattered on the dirt. The reliable difference is that fertilizer balls do not crawl away when nudged, and they do not smear into a greasy residue.
Another telltale sign is the sticky, sugar-rich liquid these insects excrete as they feed, known as honeydew. While more commonly associated with foliar pests, underground colonies can leave sticky traces near the base of the stem that subsequently encourage black sooty mold to grow on the top layer of the potting medium. If your plant is dropping lower leaves, looking lackluster despite proper care, and showing crusty white buildup near the roots, unpotting the plant to inspect the root ball is usually the fastest way to confirm the diagnosis.
How to tell for sure
Once you confirm that mealybugs have taken up residence in the root zone, you have to decide whether the plant is worth the salvage effort or if it is time to discard it to protect your other greenery. For most cherished houseplants, the best path forward involves a thorough physical intervention rather than a quick spray of water. You will need to unpot the plant, gently shake and wash away the old, infested growing medium from the roots using a stream of tepid water, and inspect the underground structure for severe damage. Prune away any rotting or heavily compromised roots, wash the remaining root system with a mild insecticidal soap solution if appropriate for the plant type, and repot the specimen into a fresh container with clean, sterile potting soil.
You should also isolate the affected plant away from the rest of your collection for at least 1 month to make sure no surviving crawlers emerge to start the cycle over. Avoid the temptation to use household dishwashing liquids if you decide to wash the foliage or stems during this process, because harsh synthetic detergents can easily burn plant cuticles and damage tender roots. Stick to formulated insecticidal soaps if you need a contact wash, and remember that single-pass treatments often fail because overlapping generations mean hidden eggs can hatch weeks later.
What usually comes next
Most indoor gardeners can manage a localized potted plant issue with a bit of patience and standard sanitation steps, but certain situations call for outside expertise. If you manage a commercial greenhouse, a large indoor scape, or a licensed turf setting that requires restricted-use systemic treatments, you should bring in a licensed pest control operator or a certified horticulturist who can apply products correctly under current regulations.
When to get help
If your plants are showing severe, persistent decline and home diagnostics with a magnifying lens still leave you guessing between root rots, grubs, or subterranean mealybugs, take a sample to a local university extension diagnostic laboratory for a definitive identification before spending money on the wrong treatments. Whenever you are handling chemical soil drenches or concentrated horticultural products indoors, always complete your mixing and application in a well-ventilated space or outdoors to avoid indoor contamination, and strictly follow every instruction listed on the pesticide product label.